huh?

This blog is all the crafts i have seen from other crafters that i want to make.

Saturday, July 3, 2010

recipe holder


It's a cutie!... This is what I did...

I purchased a 1x8x4 at Lowes and a large square dowel...


I also purchased a small craft circle...


My first step was to cut the dowel. I cut it about 11" long. I then used my Gorilla Glue Epoxy to attach the dowel to my wood circle.


I then cut my 1x8 10" long. I used the epoxy to attach the 1x8 piece to the front of the dowel.


Then I let it dry a bit...


I used my drill to put a hole in the top for the finial.


And here is was ready for paint!!!


I painted that with Rustoleum American Accents Heirloom White spray paint. After that was dry I started working on the next step.

I decided to shanty the edges up a bit with my sander and a bit of Minwax Dark Walnut stain...


I then added a bit of Ralph Lauren Smoke Glaze... You guys know the routine!!


I found this galvanized roof flashing at Lowe's...


I cut a piece just a bit smaller than the plaque I attached to the dowel.


I then used my epoxy again to attach the metal to the plaque to the wood piece. I added a silver nail in each
corner for a bit of shanty-ness!!


Now for my magnets... I used the same super cute Fleur-de-lis wood pieces that Ash used on a previous procect. I painted and glzed them the same and then used some Gorilla Glue to attach the magnets.


All finished... Now it just needs a great recipe...


towl

No-Slip Dish Towels

Make it into a loop by attaching Velcro strips to two ends, one on the front and one on the back, below. Stitch in place, or use iron-on Velcro strips.

etched jars


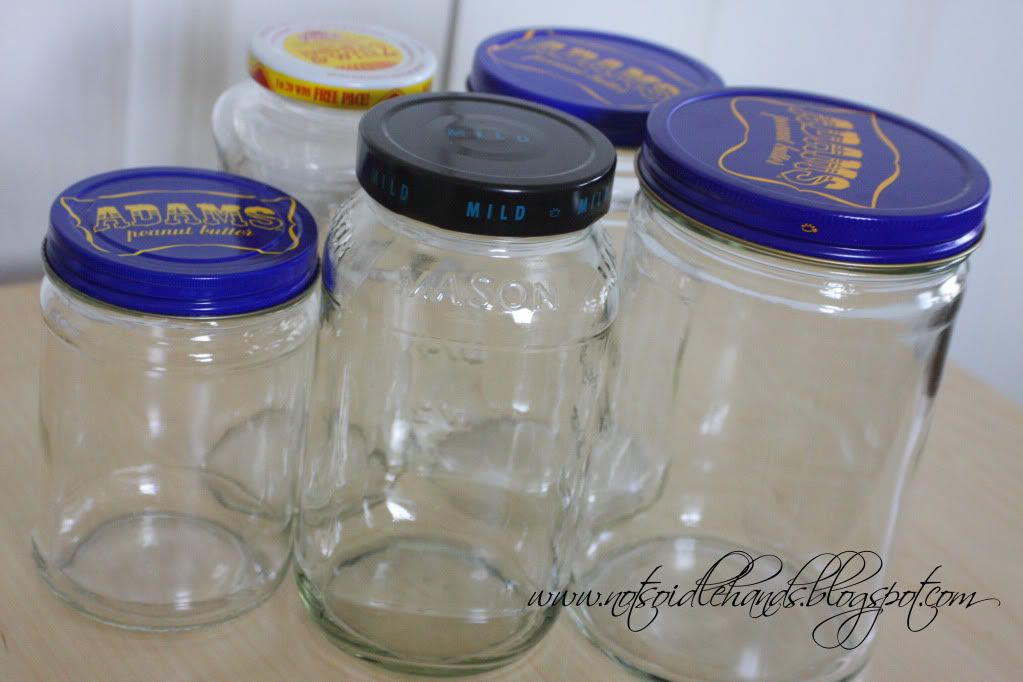
So, I gathered my jars (3 PB, and 2 cool salsa) and got to work.


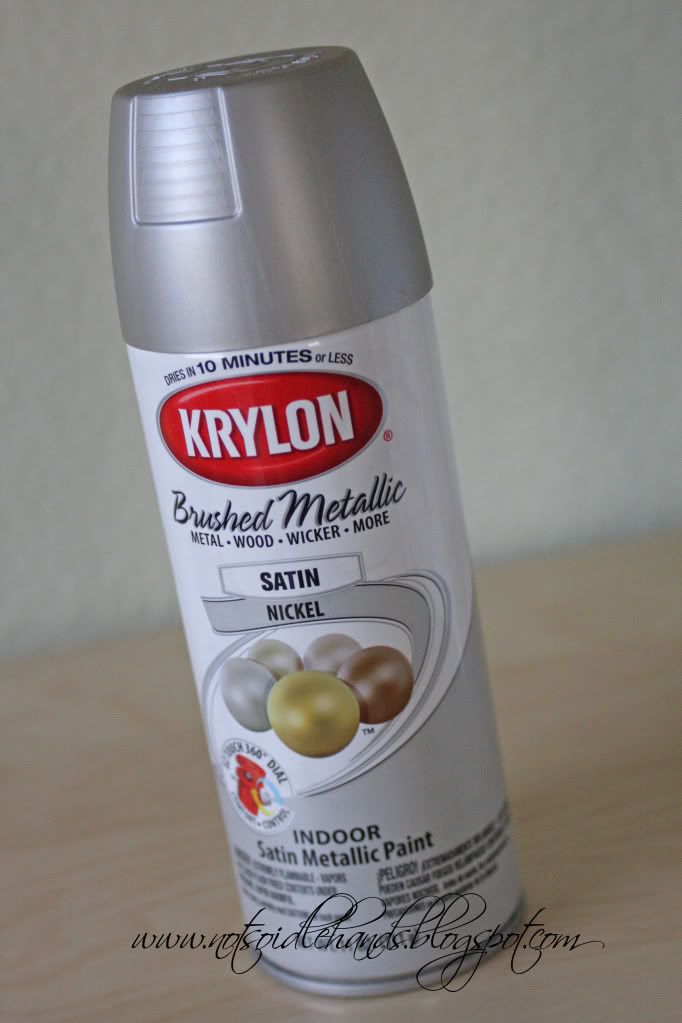
I started by spray painting the lids with my cool "brushed nickel" spray.......but I will definitely NOT be putting these into the dishwasher (hint, hint). I will only be wiping these clean with a damp cloth since I don't know how they would hold up. Also, make sure the paint is only on the outside, so it doesn't touch the food :)


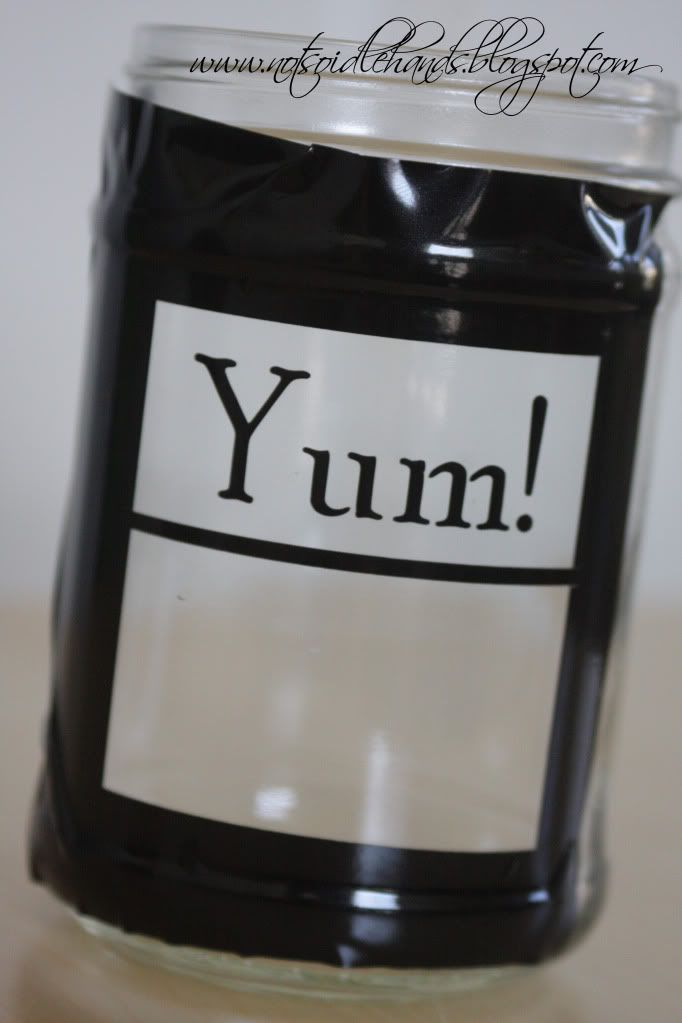
Next, I used my vinyl cutter to cut out my labels and then stuck them onto the jars.


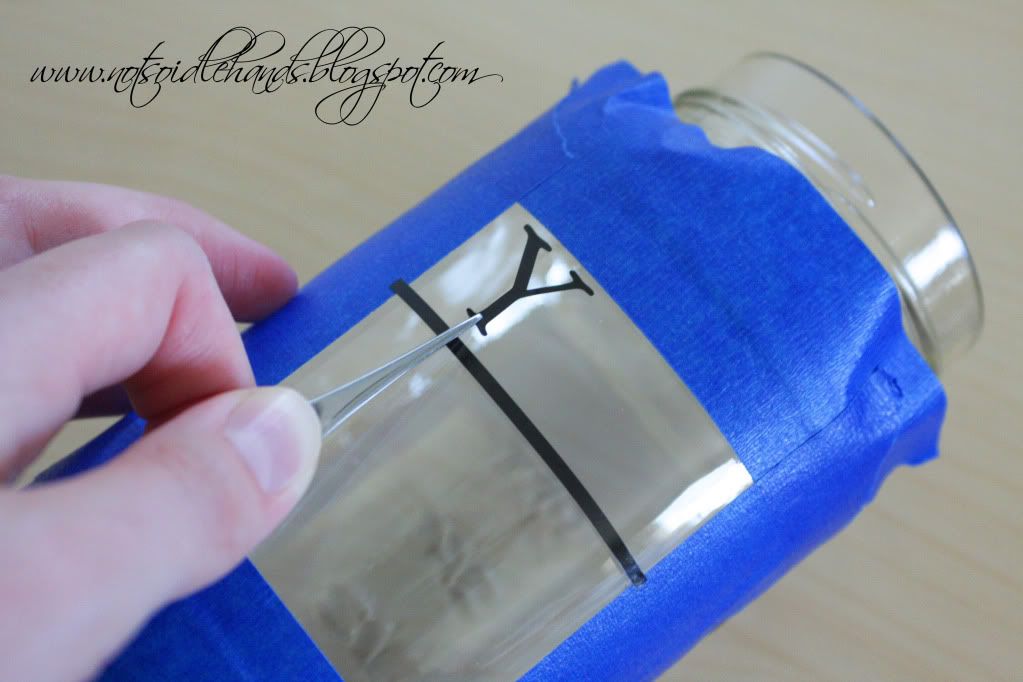
As Martha shows, you can also get some alphabet stickers and blue tape and do it this way. It works great too!

But, whatever way you do it, try to apply the letters with tweezers, so they don't get oils from your fingers and stick nice and tight to the jars.


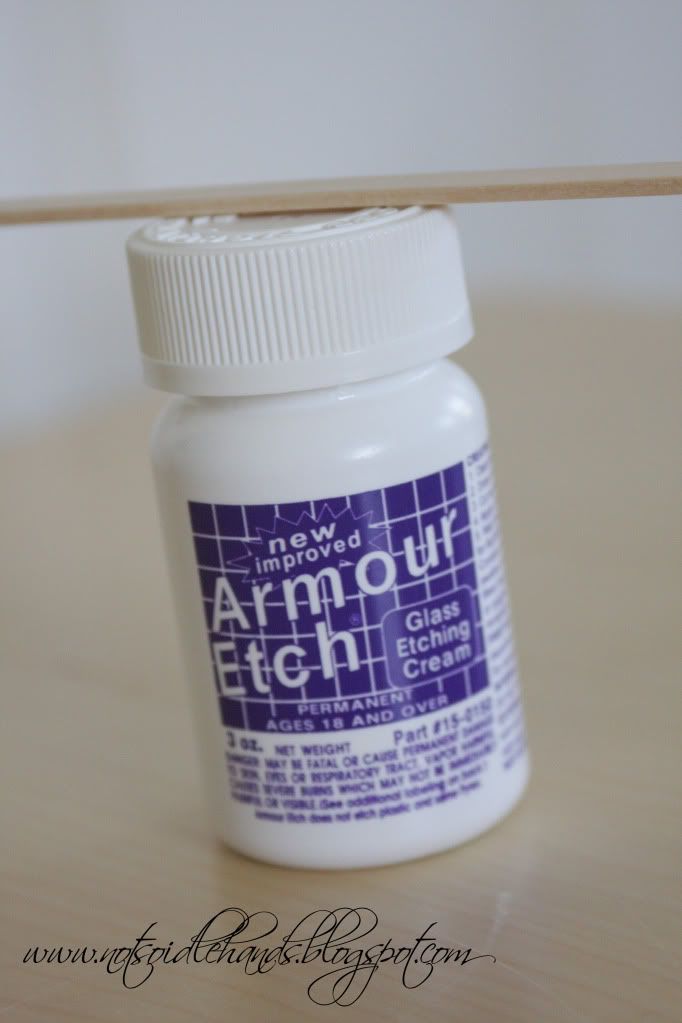
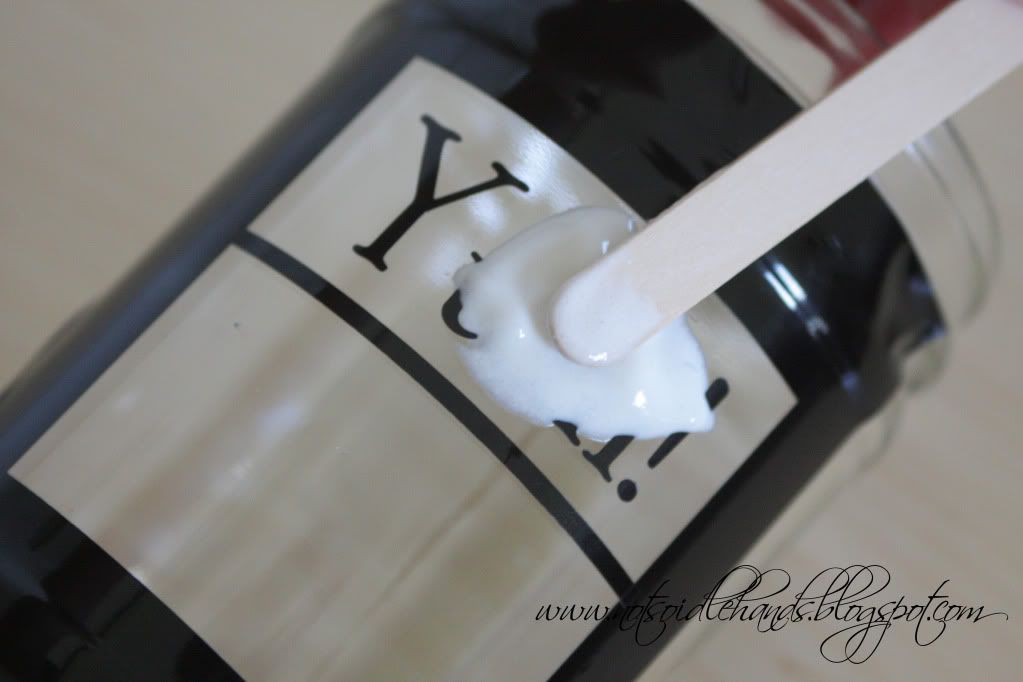
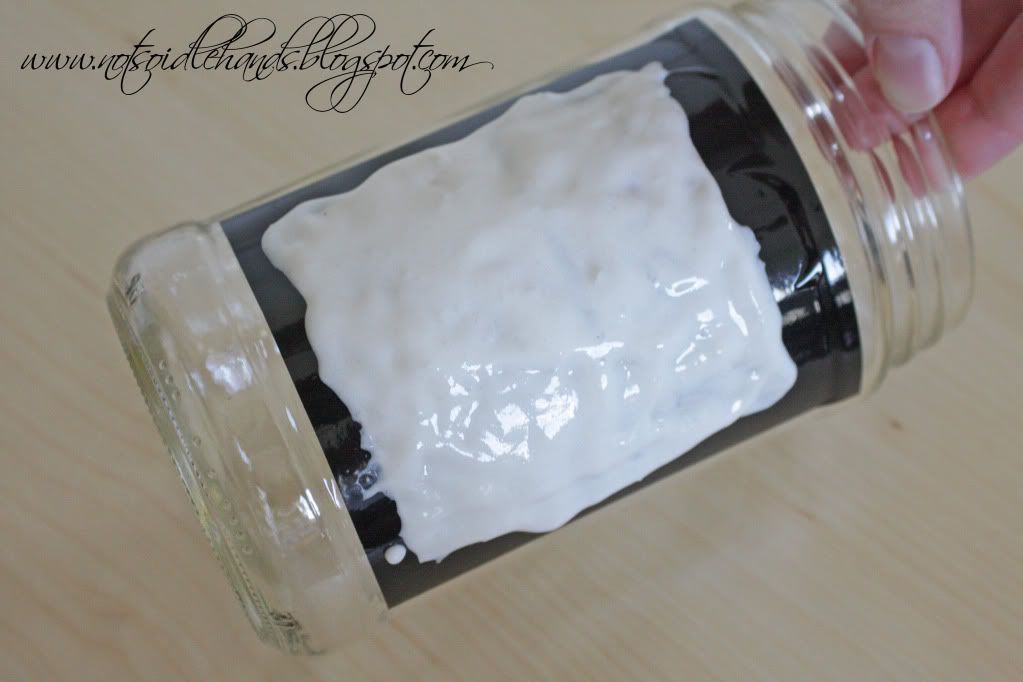
Now get you cute jar of etching cream and a popsicle stick and slather it on, baby.......nice and thick like you are icing a cake!! I've found that a paintbrush just doesn't give the best coverage and you WANT it thick for a good etching.


I wait 5 minutes, then scoop it off the surface, back into the jar (yes, you can re-use this stuff!). Then, I apply a new coat and wait another 5 minutes.

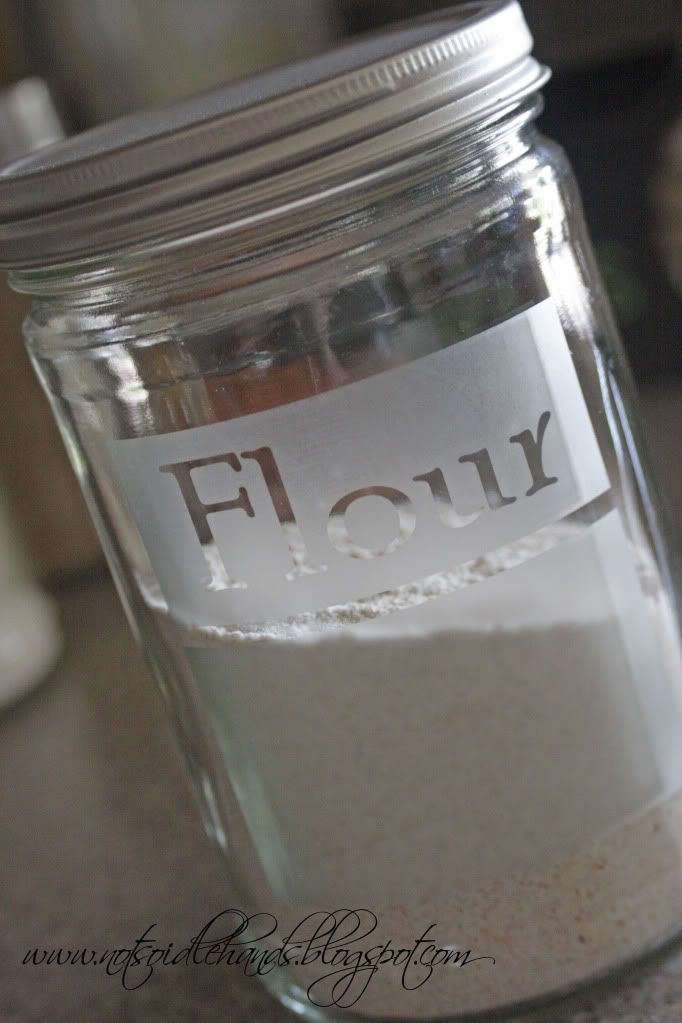
After your 10 minutes (total time), scoop it off again and back into the jar to use again and rinse the remainder off in your sink with warm water. you want to remove the stencil/tape right away to make sure no cream is under the edges.

Now, just add your goodies, and.....


Sunday, May 30, 2010

Big bloom flower

I made my wall hanging 14 x 14 inches.

Next, I cut strips of fabric that were 2 3/4 inches wide and as long as the width of the fabric.
Then I made a basting stitch along one edge, about 1/4 inch away from the edge, to begin gathering the fabric. (Need help with gathering? Click here for more info.)
Then I placed my gathered ruffle in a circle on top of the wall hanging. Position just how you'd like it, taking note of how much of the square wall hanging you want to show from behind it. (And be sure to cover the first end with the circular shape, hiding the raw edge.)

Then place some hot glue right behind the gathered edge, securing the ruffle to the wall hanging.

Fold under and glue the very edge of your ruffle.....

.....and then glue the end down. Then gather your next piece and tuck under the end as well.

Then glue it right over the end of the first piece. But I still only glued at the base, by the gathers.

Then glue the gathered piece around in a circle, making each circle more and more narrow......moving towards the center of the flower.


When you finally reach the center, tuck the end edge under and glue the end of the strip in place.

Then fold the very end over in a diagonal line.....and then set aside for a moment while we make the center piece.

I just wrapped some scraps around my finger.....

.....and ruffled it up a bit.

And glued it to the center of the flower, using plenty of glue underneath.


Tuesday, May 4, 2010

Gum balls

hings you need:
One Pot
One pot dish (I know that isn't the technical term but I am blanking for the moment. The dish the pot sits in and catches the excess water)
A wooden wheel: like 79 cents at the crafts store

A knob: (I know I got this for cheap at home depot..like 30 cents or something:

Now take those 4 things and spray them RED!

Now, you are going to need a round fish bowl.


Now after the paint is dry...you'll need to paint on the details:
Just a gray rectangle
(make sure the pot is upside down!!!)

NOw hot glue the bowl to the upside down pot:


Then hot glue the knob and the wheel together:
Then hot glue that to the dish (upside down)
This is the lid it should fit right on the top of the bowl
Fill with bubble gum (or you could use it as a cookie jar)
Thats about 4 bucks worth of gum balls!

Cupcake stand

3 tier dessert stand...terra cotta style

Supplies:
Paint:

I sprayed a nontoxic finish on it.
assemble:


I just hot glued the two pots to the two upper stands

Followers