huh?

This blog is all the crafts i have seen from other crafters that i want to make.

Thursday, August 18, 2011

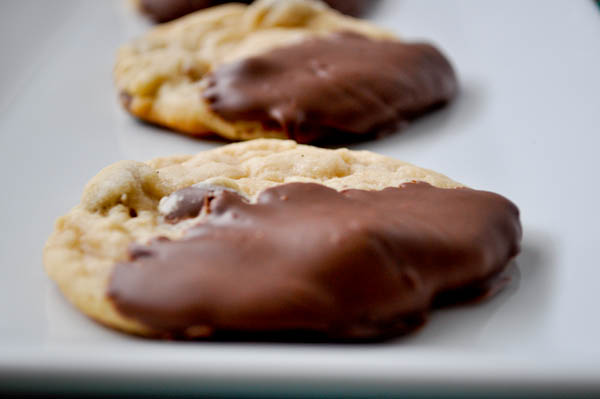
New York Times best cookie!


The New York Times Chocolate Chip Cookies

from The New York Times

2 cups minus 2 tablespoons (8 1/2 ounces) cake flour

1 2/3 cups (8 1/2 ounces) bread flour

1 1/4 teaspoons baking soda

1 1/2 teaspoons baking powder

1 1/2 teaspoons coarse salt

2 1/2 sticks (1 1/4 cups) unsalted butter

1 1/4 cups (10 ounces) light brown sugar

1 cup plus 2 tablespoons (8 ounces) granulated sugar

2 large eggs

2 teaspoons vanilla extract

1 1/4 pounds chocolate chips

Sift flours, baking soda, baking powder and salt into a bowl and set aside.

Using a mixer with a paddle attachment, cream butter and sugars until light and fluffy – about 5 minutes. Add eggs one at a time. Stir in vanilla. Reduce to low speed and add dry ingredients slowly, mixing until just combined. Fold in chocolate chips. Refrigerate dough for 24-36 hours.

When ready to bake, preheat oven to 350.

Drop spoonfuls of dough onto baking sheet and sprinkle with sea salt. Bake for 10-12 minutes. (The original recipe calls for larger cookies and a longer bake time, but I use a bit less dough and shorten the time in the oven.
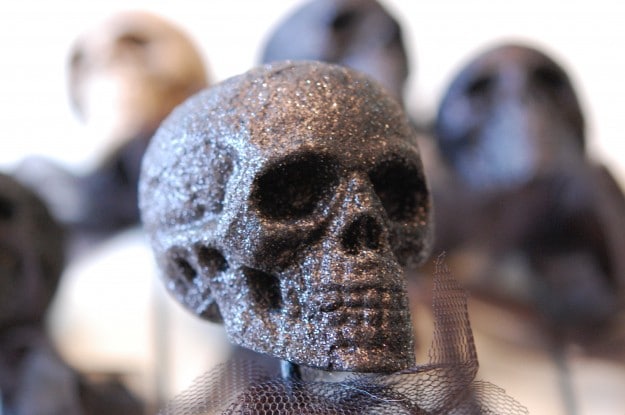
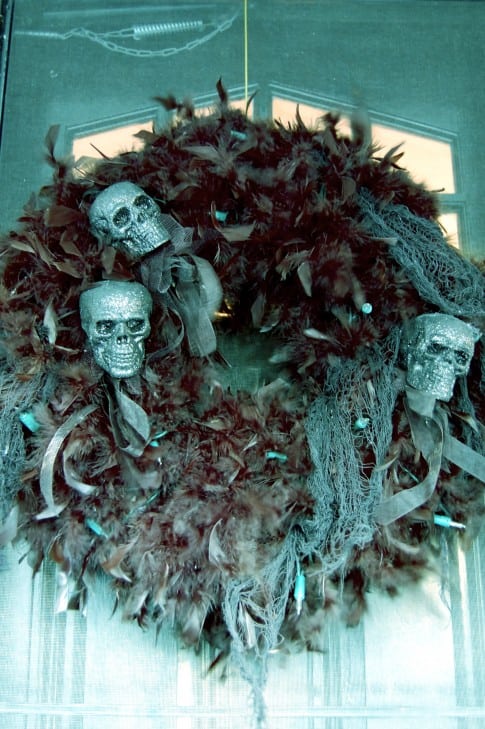
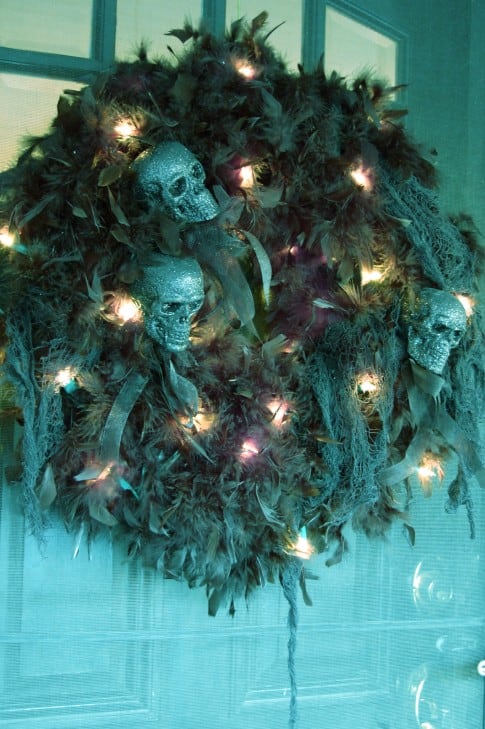
halloween!!

Materials

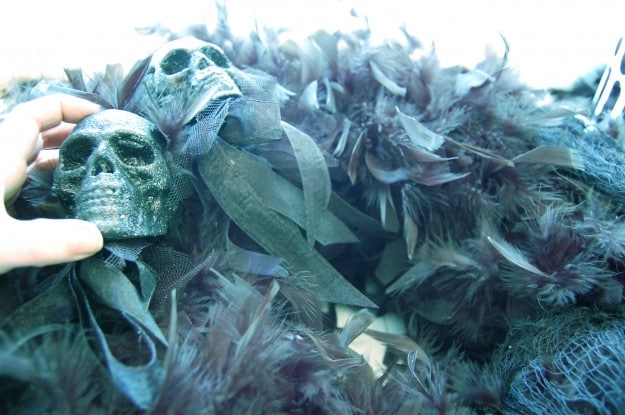
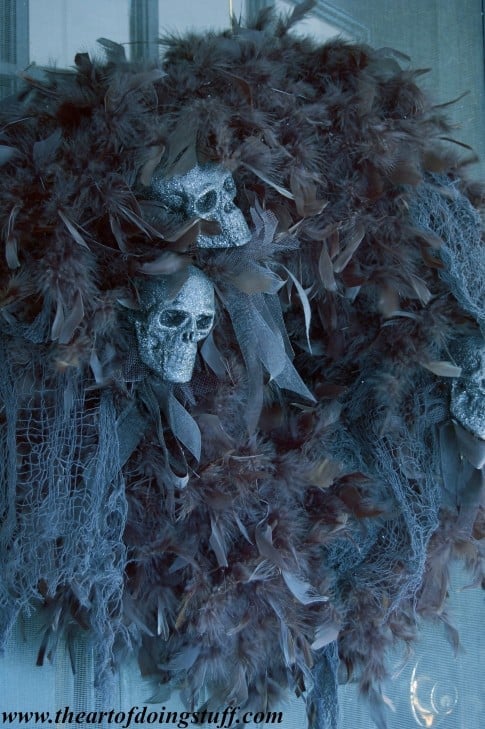
A Few Black Sparkly Skulls – $ 1 each


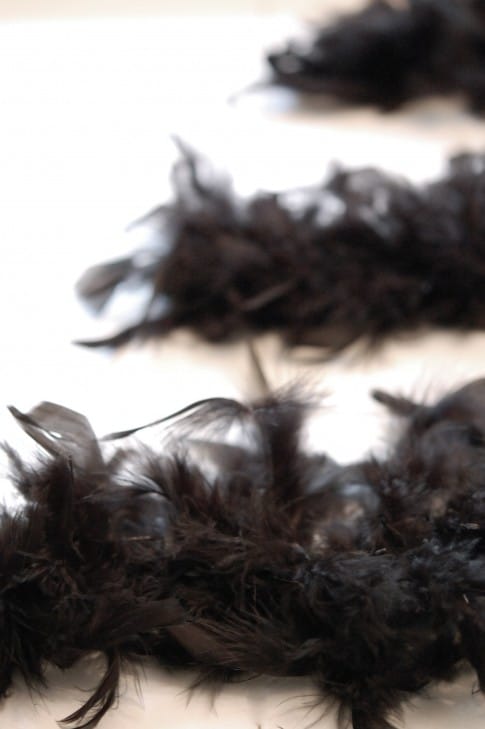
8 Black Feather Boas – $2 each.

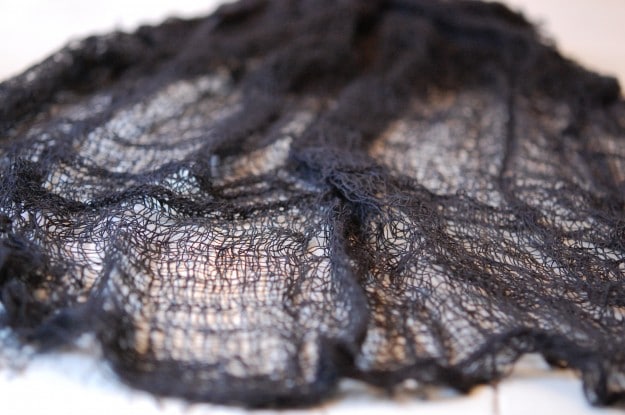
Black Gauze – $1

Styrofoam wreath

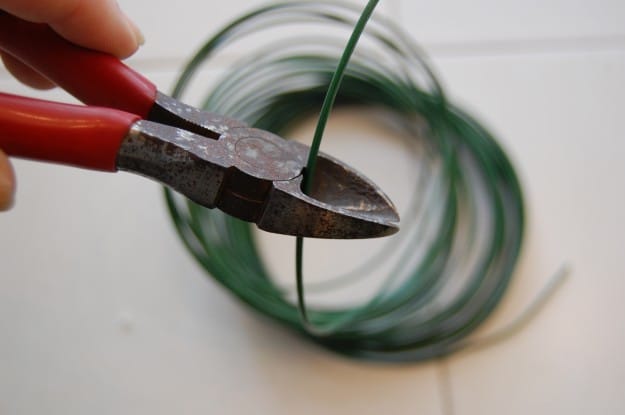
In just moments I’m going to wrap the black feather boas around the wreath, but to make sure they stay where you want them you should cut some wire into 2 inch pieces …

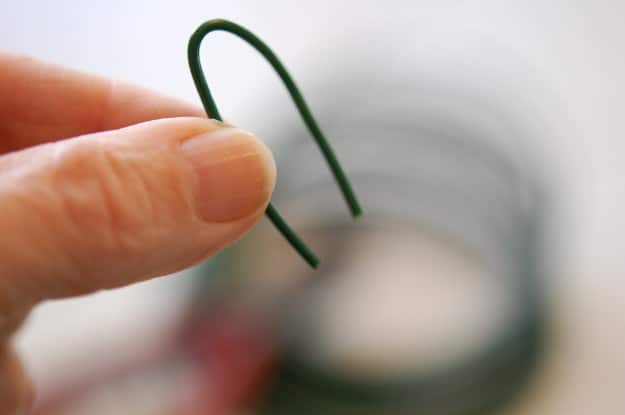
… and then bend them over so they’re like modified clippy things.

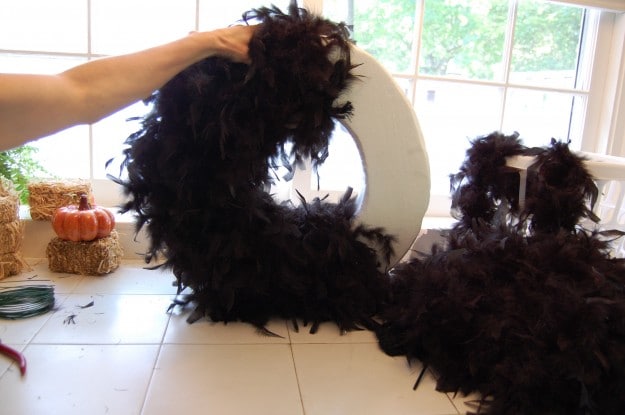
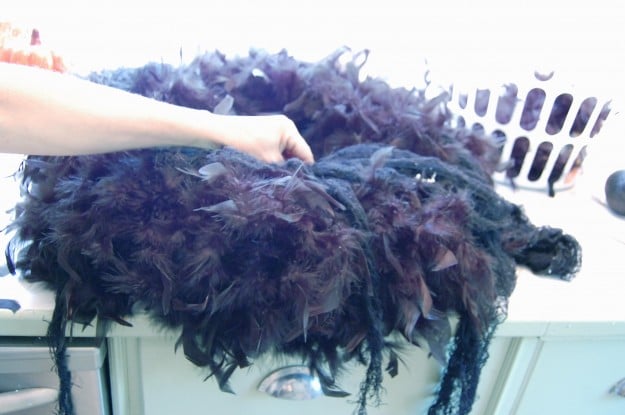
Start wrapping and clipping your boas around the wreath.

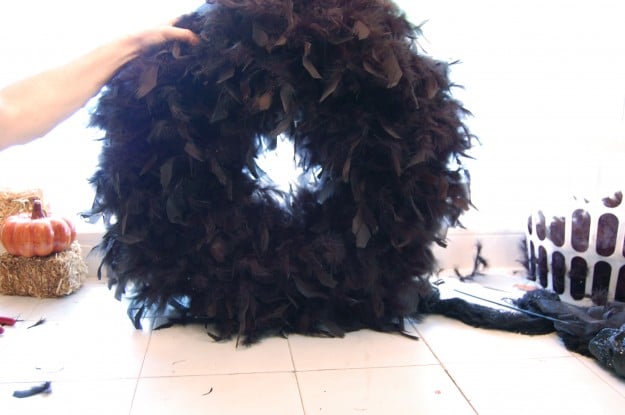
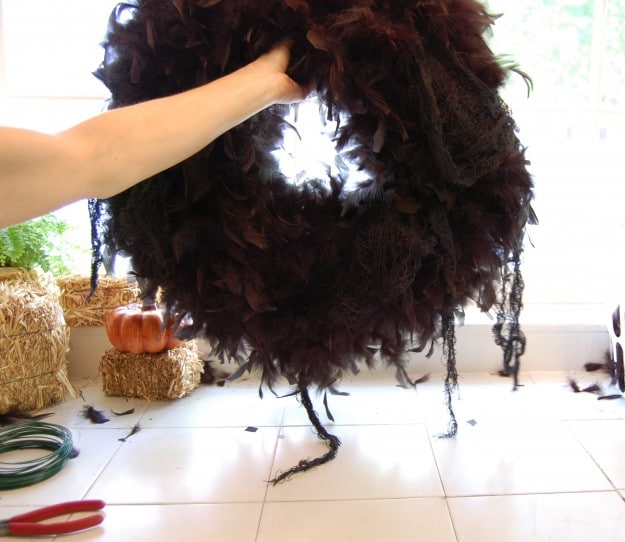
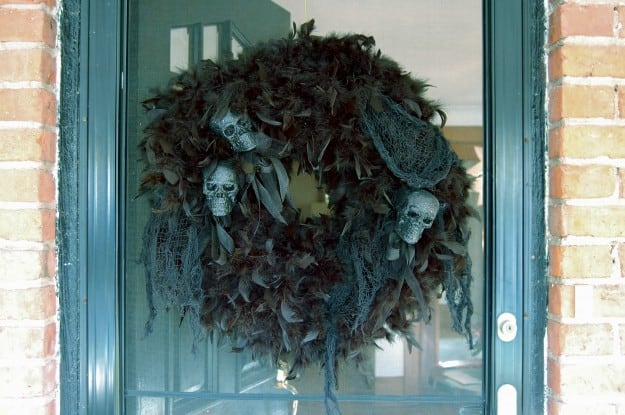
When you’ve applied approximately 17 birds worth, you’ll have something that looks like this.

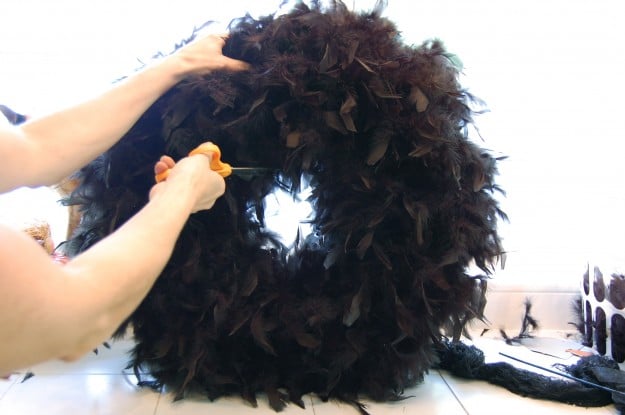
If you need a little more room in the centre of your wreath, just clip away some of the feathers so you have a bigger opening.

I randomly cut small pieces of the black gauze and then pinned them “pleasingly” on the wreath. Just wherever I thought it looked good.

Every so often hold your wreath up to see what it’ll look like hanging.

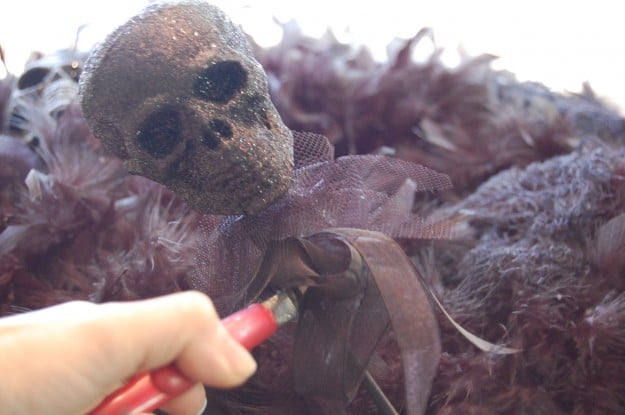
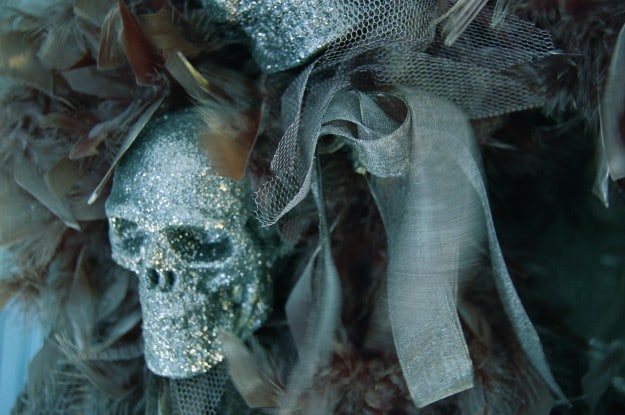
The sparkly skulls I got from the Dollar store had tooling and ribbons around their necks and came on sticks. However, I didn’t like where the sticks were, so I cut them off …

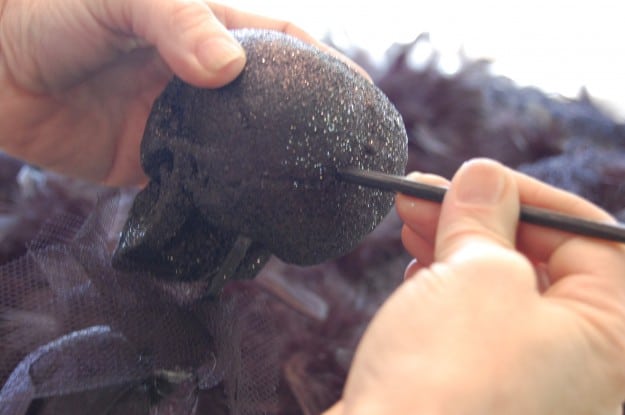
… and placed them where I wanted them, in the backs of the skulls. I cannot even begin to tell you how much I love these sparkly styrofoam skulls. They make me want to grin and stretch my arms above my head like I’m about to have a delicious bowl of sugar cereal.

Hang it on the door, bat your eyelashes at Gomez and call it a night.

Oh yes! And I put mini-lights into it for nighttime viewing.

Wednesday, August 17, 2011

DIY Kitchen!

We made this!!

So I found a picture of a play kitchen made from a night stand and had no other choice but to make one of our own. I could not get it out of my mind.
The next day or two I went to DI, Savers, looking around at garage sales and no luck. I had this image of the perfect looking dresser to destroy and could not find it anywhere.
So i picked up some pots and small pans for $2.00


Then the next day Jacob called me and sent a picture of two different dresser things and her brought one home for a whopping $10.00. He had stopped by a savers is SLC and found our new project!


That night we started working and had it all put together.
Ill let the pictures show you the steps.
took the top off. to use as dividers and doors.


Xelly and I went and looked at colors. Xelly picked out her favorite pink color and that was what we painted it! Primed it then painted it pink!!

primed

pink!!!

Then we went to Walmart and picked out some fabric to make the curtain. my first time sewing a curtain. not to shabby huh!?

We liquid nailed the sick on so xelly could not pull it out.
Then painted on the microwave and oven.
Jacob bolted the hinges on because I could not get it right after trying 10 times

Walah! Now it is inside and a rad new toy!!
I just need to find a faucet!
The fun part is you can make anything out of well... anything!!
This is one of the things on my craft list! I can now move onto finishing up the piano!

Monday, January 10, 2011

Valentines!!

monday, january 11, 2010

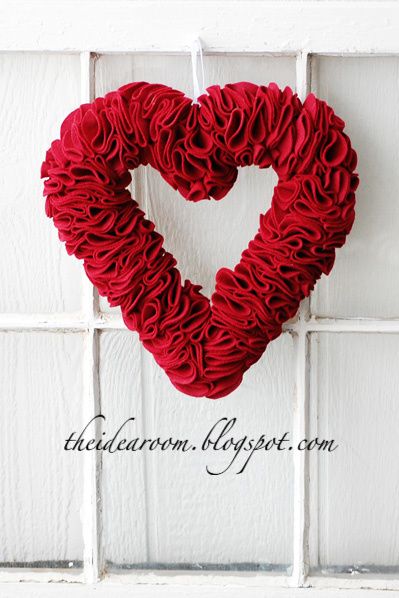
Heart Felt Wreath

Also, I am always surprised which posts get the most comments! I LOVED that there were so many self-proclaimed list junkies!! Thanks for sharing. I really enjoyed getting to know some of my readers a bit better! And the fact that I am not as crazy as I might have thought!


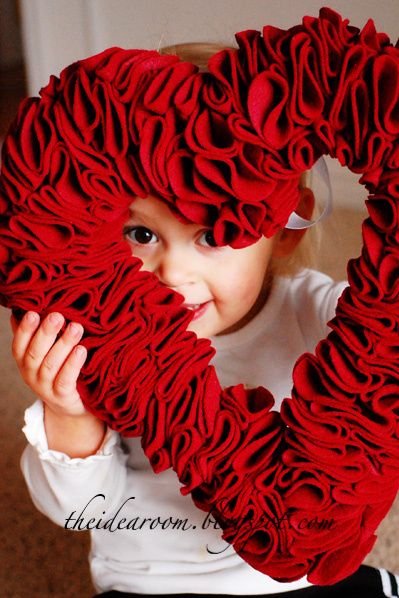
This wreath is so easy to make but can be a bit time consuming. My hubby was recently out-of-town on business. So, over a couple of evenings I was able to watch some chick flicks and put together this wreath.


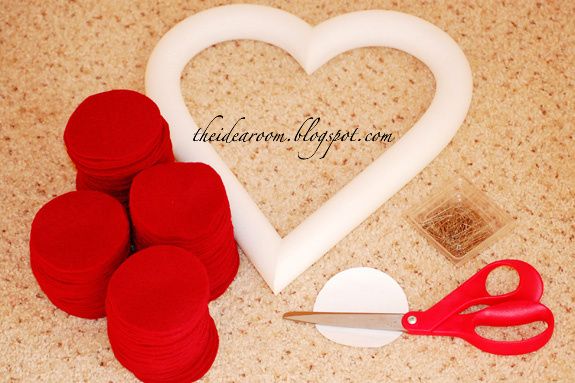
I bought my heart shaped foam wreath at JoAnn's. It was $4 and I used my 40% off coupon. I also purchased 3/4 yard (off the bolt) of a nice "velvety" colored red felt. I also picked up a package of straight pins.


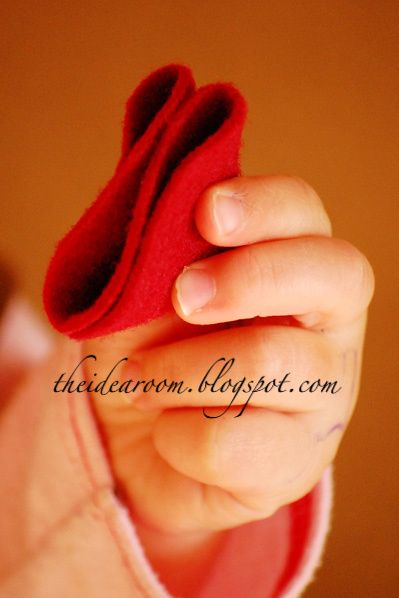
I used a cup from my cupboard to make a 3 inch circle template. Then I cut SEVERAL 3 inch circles out of the felt. No I did not count them. Then I took a circle and folded it in half to make a half circle and folded it in half again like my little assistant is demonstrating.


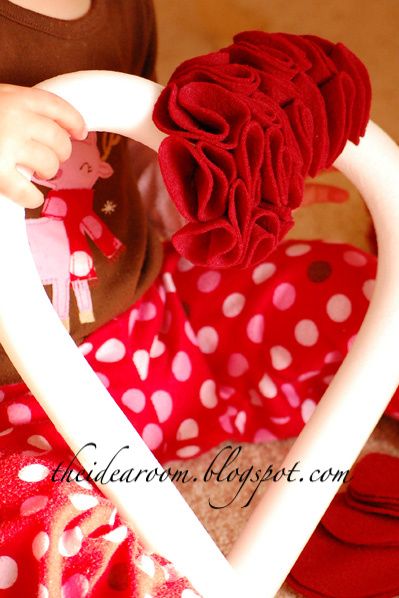
Then take a straight pin and pin it through the bottom of the point. Then stick the pin with the felt into the styrofoam. Continue doing this placing each folded circle close together filling in the spaces. Continue the process for the whole wreath.


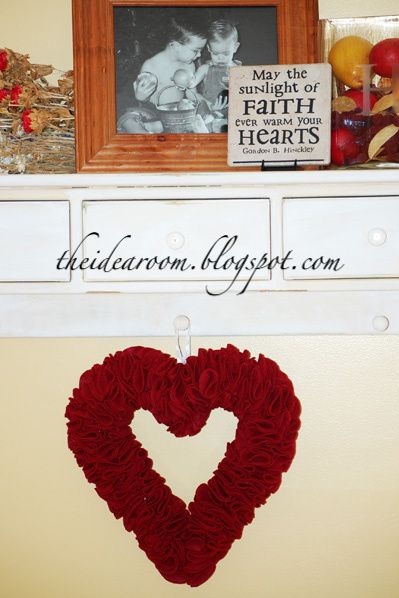
You will not need to do this on the back of the wreath. Then I took a peice of ribbon (about 8 inches) and folded it into a loop and pinned it several times into the back of the wreath to hang it from. I absolutely LOVE how it turned out!! In fact, I liked it so much I came up with some other projects like it. Stay tuned tomorrow for those!

Followers