huh?

This blog is all the crafts i have seen from other crafters that i want to make.

Thursday, August 18, 2011

New York Times best cookie!


The New York Times Chocolate Chip Cookies

from The New York Times

2 cups minus 2 tablespoons (8 1/2 ounces) cake flour

1 2/3 cups (8 1/2 ounces) bread flour

1 1/4 teaspoons baking soda

1 1/2 teaspoons baking powder

1 1/2 teaspoons coarse salt

2 1/2 sticks (1 1/4 cups) unsalted butter

1 1/4 cups (10 ounces) light brown sugar

1 cup plus 2 tablespoons (8 ounces) granulated sugar

2 large eggs

2 teaspoons vanilla extract

1 1/4 pounds chocolate chips

Sift flours, baking soda, baking powder and salt into a bowl and set aside.

Using a mixer with a paddle attachment, cream butter and sugars until light and fluffy – about 5 minutes. Add eggs one at a time. Stir in vanilla. Reduce to low speed and add dry ingredients slowly, mixing until just combined. Fold in chocolate chips. Refrigerate dough for 24-36 hours.

When ready to bake, preheat oven to 350.

Drop spoonfuls of dough onto baking sheet and sprinkle with sea salt. Bake for 10-12 minutes. (The original recipe calls for larger cookies and a longer bake time, but I use a bit less dough and shorten the time in the oven.

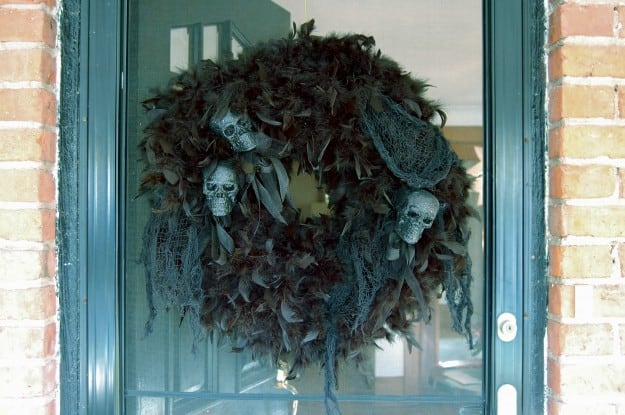
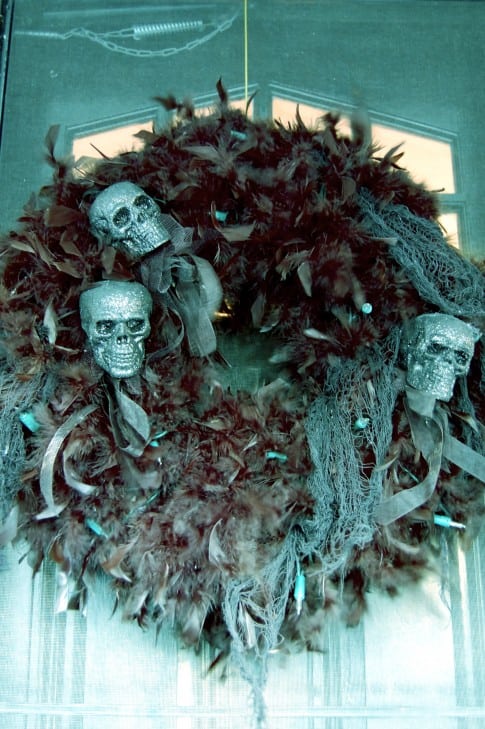
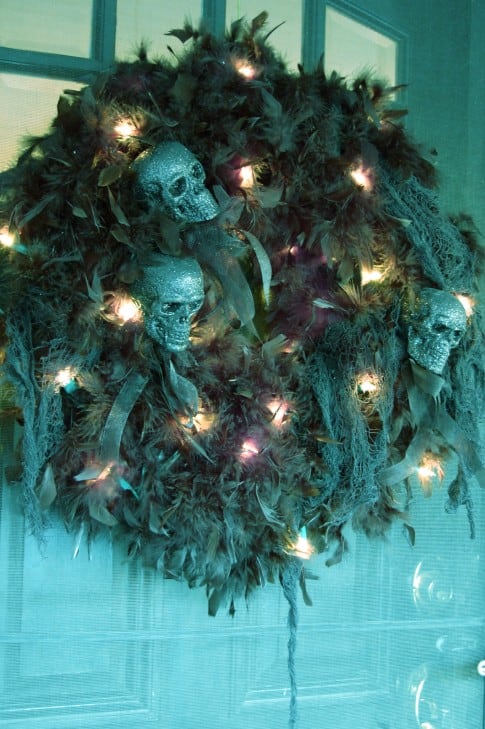
halloween!!

Materials

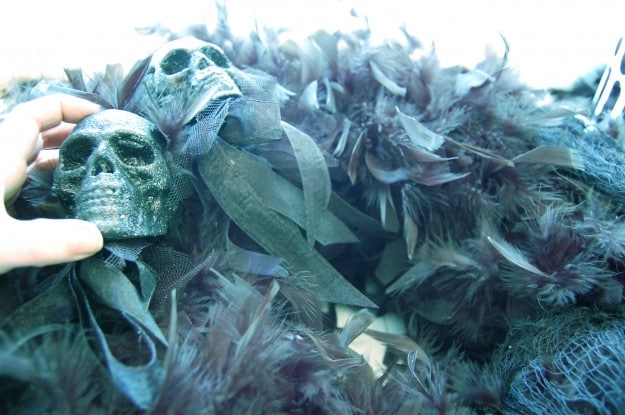
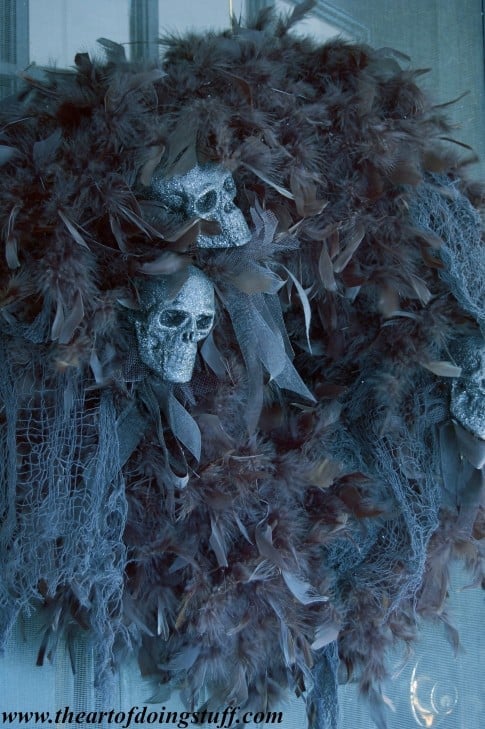
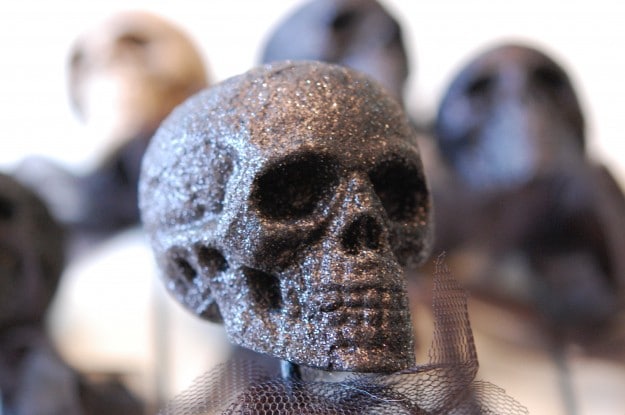
A Few Black Sparkly Skulls – $ 1 each


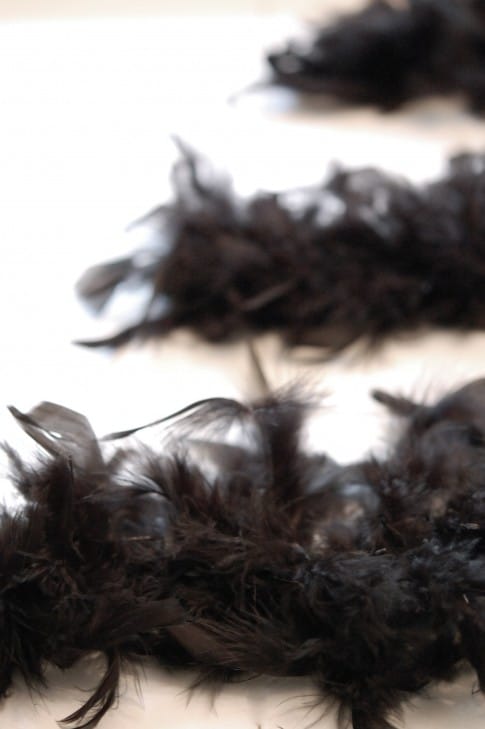
8 Black Feather Boas – $2 each.

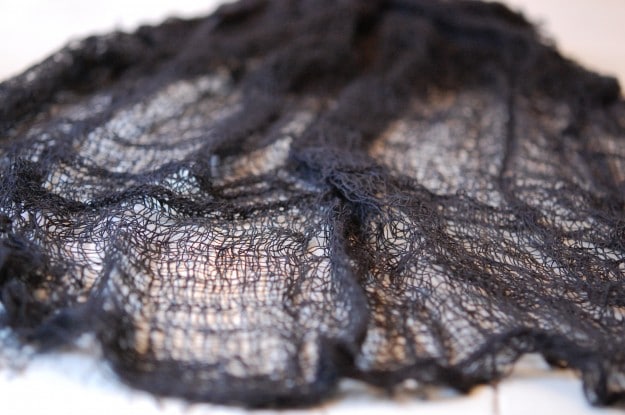
Black Gauze – $1

Styrofoam wreath

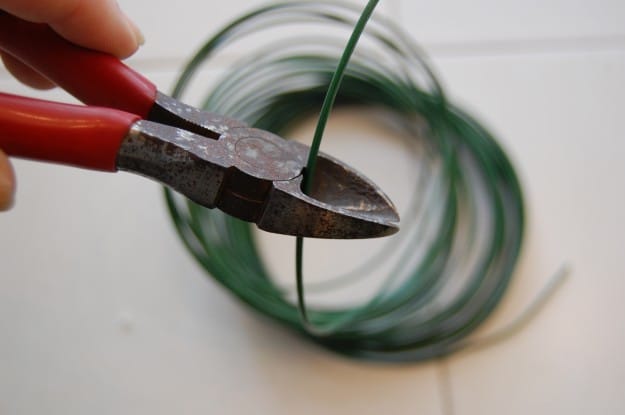
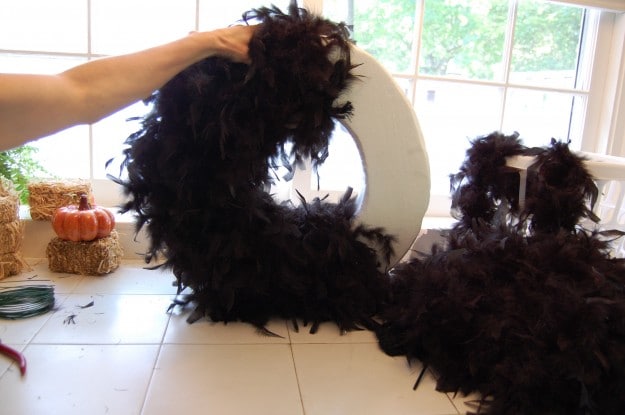
In just moments I’m going to wrap the black feather boas around the wreath, but to make sure they stay where you want them you should cut some wire into 2 inch pieces …

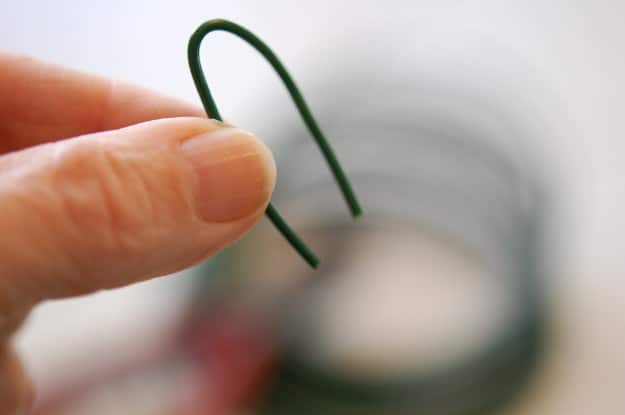
… and then bend them over so they’re like modified clippy things.

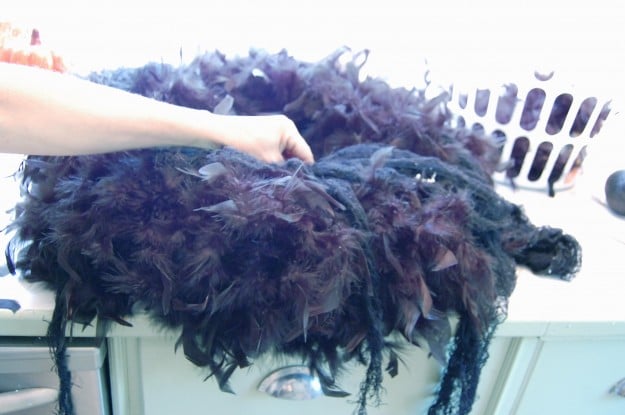
Start wrapping and clipping your boas around the wreath.

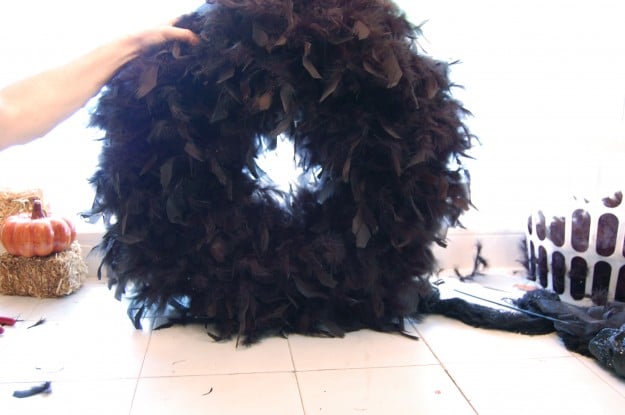
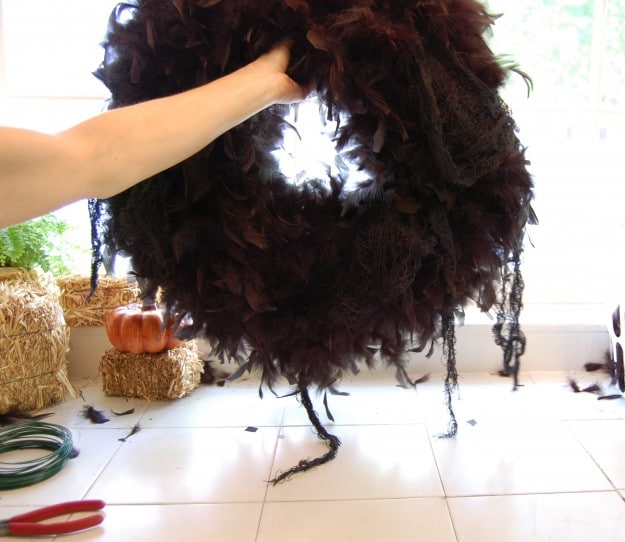
When you’ve applied approximately 17 birds worth, you’ll have something that looks like this.

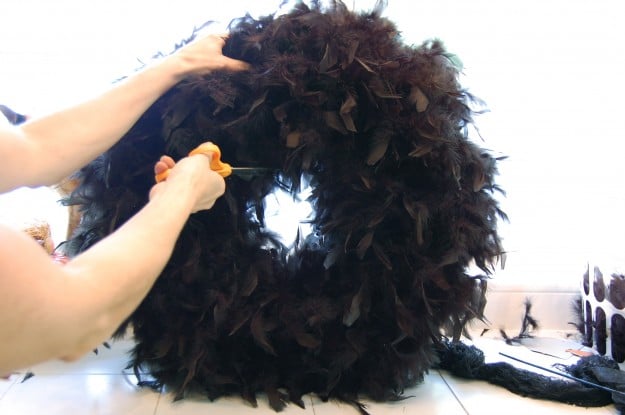
If you need a little more room in the centre of your wreath, just clip away some of the feathers so you have a bigger opening.

I randomly cut small pieces of the black gauze and then pinned them “pleasingly” on the wreath. Just wherever I thought it looked good.

Every so often hold your wreath up to see what it’ll look like hanging.

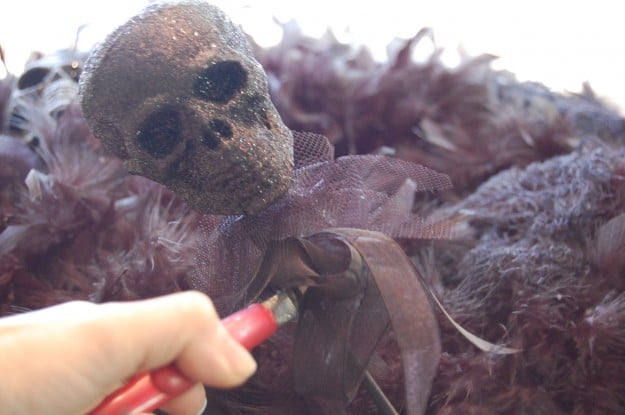
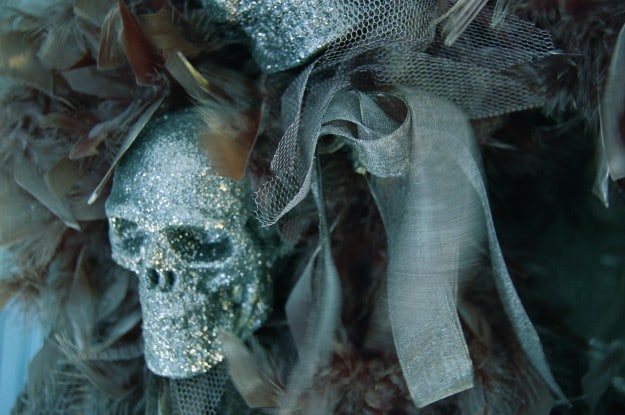
The sparkly skulls I got from the Dollar store had tooling and ribbons around their necks and came on sticks. However, I didn’t like where the sticks were, so I cut them off …

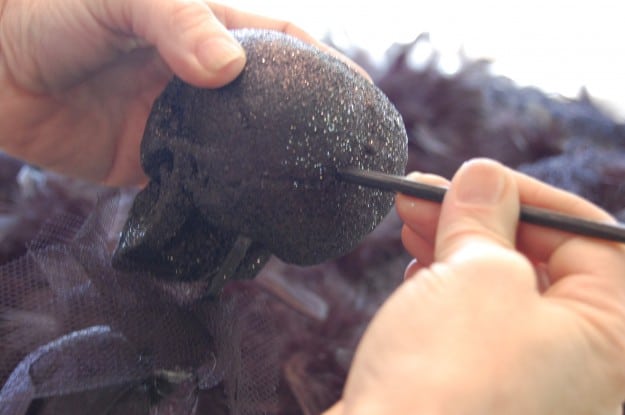
… and placed them where I wanted them, in the backs of the skulls. I cannot even begin to tell you how much I love these sparkly styrofoam skulls. They make me want to grin and stretch my arms above my head like I’m about to have a delicious bowl of sugar cereal.

Hang it on the door, bat your eyelashes at Gomez and call it a night.

Oh yes! And I put mini-lights into it for nighttime viewing.

Wednesday, August 17, 2011

DIY Kitchen!

We made this!!

So I found a picture of a play kitchen made from a night stand and had no other choice but to make one of our own. I could not get it out of my mind.
The next day or two I went to DI, Savers, looking around at garage sales and no luck. I had this image of the perfect looking dresser to destroy and could not find it anywhere.
So i picked up some pots and small pans for $2.00


Then the next day Jacob called me and sent a picture of two different dresser things and her brought one home for a whopping $10.00. He had stopped by a savers is SLC and found our new project!


That night we started working and had it all put together.
Ill let the pictures show you the steps.
took the top off. to use as dividers and doors.


Xelly and I went and looked at colors. Xelly picked out her favorite pink color and that was what we painted it! Primed it then painted it pink!!

primed

pink!!!

Then we went to Walmart and picked out some fabric to make the curtain. my first time sewing a curtain. not to shabby huh!?

We liquid nailed the sick on so xelly could not pull it out.
Then painted on the microwave and oven.
Jacob bolted the hinges on because I could not get it right after trying 10 times

Walah! Now it is inside and a rad new toy!!
I just need to find a faucet!
The fun part is you can make anything out of well... anything!!
This is one of the things on my craft list! I can now move onto finishing up the piano!

Monday, January 10, 2011

Valentines!!

monday, january 11, 2010

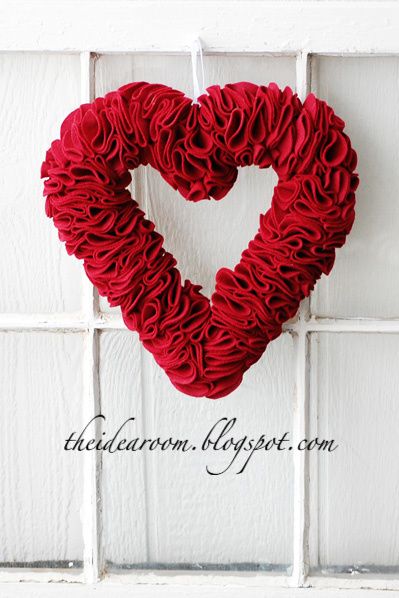
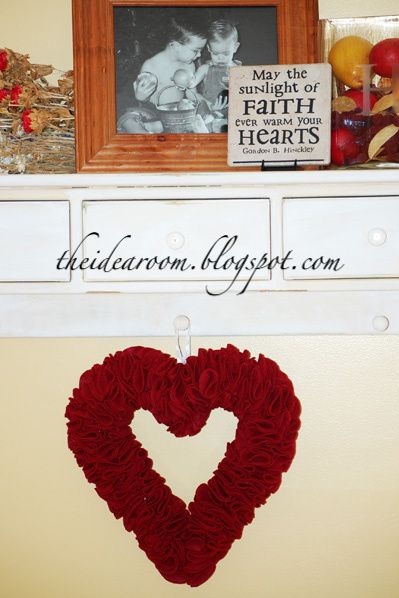
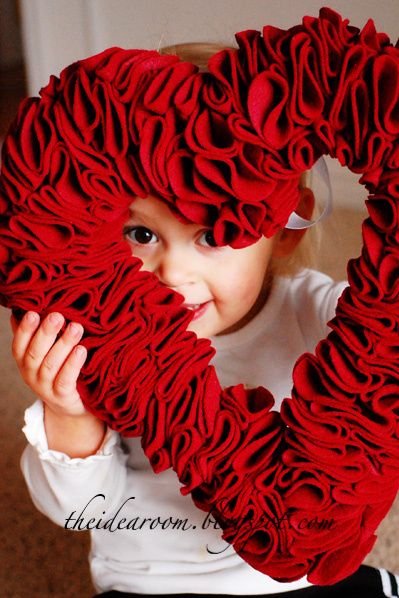
Heart Felt Wreath

Also, I am always surprised which posts get the most comments! I LOVED that there were so many self-proclaimed list junkies!! Thanks for sharing. I really enjoyed getting to know some of my readers a bit better! And the fact that I am not as crazy as I might have thought!


This wreath is so easy to make but can be a bit time consuming. My hubby was recently out-of-town on business. So, over a couple of evenings I was able to watch some chick flicks and put together this wreath.


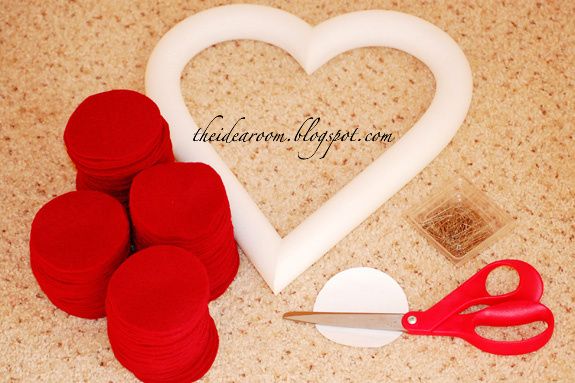
I bought my heart shaped foam wreath at JoAnn's. It was $4 and I used my 40% off coupon. I also purchased 3/4 yard (off the bolt) of a nice "velvety" colored red felt. I also picked up a package of straight pins.


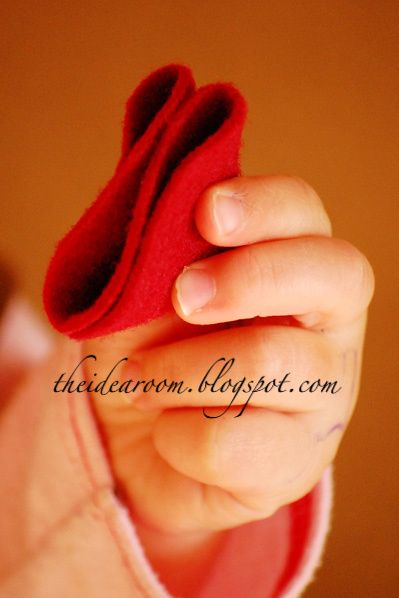
I used a cup from my cupboard to make a 3 inch circle template. Then I cut SEVERAL 3 inch circles out of the felt. No I did not count them. Then I took a circle and folded it in half to make a half circle and folded it in half again like my little assistant is demonstrating.


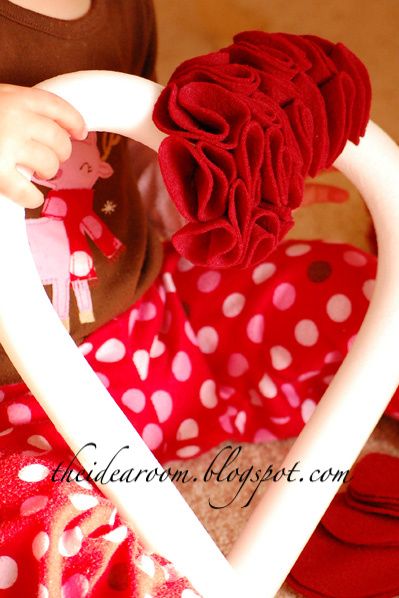
Then take a straight pin and pin it through the bottom of the point. Then stick the pin with the felt into the styrofoam. Continue doing this placing each folded circle close together filling in the spaces. Continue the process for the whole wreath.


You will not need to do this on the back of the wreath. Then I took a peice of ribbon (about 8 inches) and folded it into a loop and pinned it several times into the back of the wreath to hang it from. I absolutely LOVE how it turned out!! In fact, I liked it so much I came up with some other projects like it. Stay tuned tomorrow for those!

Friday, October 8, 2010

Jumbo Candy Corn

Jumbo Styrofoam Candy Corn


I am soooo excited about this post! I giggled out loud twice when I was making these. (Would that be GOL?) I've been frustrated, too, as I lost my camera cord!!! I went out this afternoon and bought a card reader. You know what's destined to happen now? Yes, I'll lose the card. Let's get goin' with the good stuff, shall we?


I bought two sets of two cones at Walmart~cost $7, (these are 7-8") then I carved the sides off and gently rounded the ends using a steak knife. Next, I made a batch of plaster (purchased for 49¢ on clearance from Michael's-woot!) A shout out to Marianne from Songbird is in order, I purchased the plaster after I saw her very cool post on using plaster to coat fabric flowers.


I mixed it up on the thin side and poured it over the carved styrofoam. (Giggle out loud #1 when this worked well!) There were a few places when the plaster dried that had hollow bubble spots. I would suggest for those spots to use spackle. (I tried putting another coat of plaster over the first and it didn't work out that well.)


After they dried overnight, I painted them traditional candy corn colors.

Wednesday, September 15, 2010

faux canvas

My supplies:
12x12 photos
12x12 boards
black spray paint
Mod Podge
Foam brush
Sand paper
Drill
Screw (to hang photo on)

I started with a 3/4" 2x2 birch plywood board and cut it into four 12x12 squares.

Then I spray painted the edges black. I also wanted a little on the front of the board in case my photo didn't quite cover the entire surface.
Then I flipped the board over and drilled a hole in the back so it would hang flush against the wall.
Then I got out my handy dandy Mod Podge and a foam brush and painted the surface of the wood. I set the photo on the board and smoothed it out. After it was dry, I sanded the edges of the photo to help make them more flush with the edge of the board. Then I took my foam brush and painted over the photo in a horizontal motion with more glue. Before the glue dried I painted in a vertical motion (without applying anymore glue this time). This gives the photo a great canvas texture.

be careful about how much glue gets on the brush. It's can be thicker in some places and wont dry evenly.

Monday, September 13, 2010

3-D wreath

Here’s what you need:

A round wreath form — mine is 12 inches with a flat top and sides. I found it at Hobby Lobby.

Ribbon (about 9 yards for a 12 inch wreath)

Gorilla Glue

Paint that matches your ribbon

Small Dowels or wooden beads.

Round Wooden Craft Circles (also found at Hobby Lobby) I used 2 packages – approximately 30 circles of different sizes

4 different patterns of decorative paper

Glue gun and sticks OR Superglue

Decoupage medium (I used Outdoor Mod Podge since my wreath is going to be outside - this stuff rocks!)

Here’s what you do:

  • Put a dab of Gorilla Glue on the back side of your wreath form. Put one end of your ribbon on top of the glue and pin. Then wrap the wreath form with your ribbon tightly, overlapping the edges until the entire wreath is wrapped. End the ribbon in the same way you started – by applying a dab of Gorilla Glue and pinning it until it dries.

  • Take your circles divide the circles into four equal piles with the same sizes of circles in each pile. Trace the circles from each pile onto your four different papers. So you end up with the same number of circles and sizes for each of your four papers.
  • Cut out all of your circles.
  • Cut your dowels to three different sizes — 1/2 inch, 1 inch and 1 1/2 inch. You only need about 5 of the 1 1/2 inch sizes, then evenly split the 1/2 inch and 1 inch sizes to match the number of circles you are going to make. I used about 30 circles on my wreath. **note — you do not have to use dowels, you can use small wooden beads too. I used two different sizes of wooden bead – one was 1/2 inch and the other was 1 inch. I then cut a dowel for the 5 taller circles using a chop saw.


  • Glue the beads or dowels onto the back of the wooden circle. Once dry, paint the backs of the circles and beads the color that coordinates with your paper. let dry.

  • Mod Podge your paper onto each of the circles. I applied a thin layer of Mod Podge to each of the circles and then to the back side of the paper. When I had done all of the circles, then I put a top layer over all of the circles. Let dry. **Let me just say that I love the Outdoor Mod Podge! It is thicker and very durable.
  • Then lay your circles out on the wreath to see what you want your placement to look like.

  • Glue your circles onto the wreath. When gluing, hold the dowel straight onto the wreath for a few seconds until it is cooled or dry (depending on whether you are using Superglue or hot glue).
  • Cut 2 different coordinating ribbon and wrap it through the wreath and tie at the top.

Followers